

Carving your first pumpkin is easier than you think — all you need is a simple design, a basic carving kit and a little patience. These easy pumpkin carving ideas were picked for beginners: simple shapes, forgiving lines and designs that look amazing once the candle glows inside.
From the classic jack-o’-lantern to drilled polka dots and cookie-cutter stars, there is a perfect first pumpkin for everyone below. Grab your pumpkin, save your favorite idea, and let us start carving!
1. Classic Jack-o’-Lantern
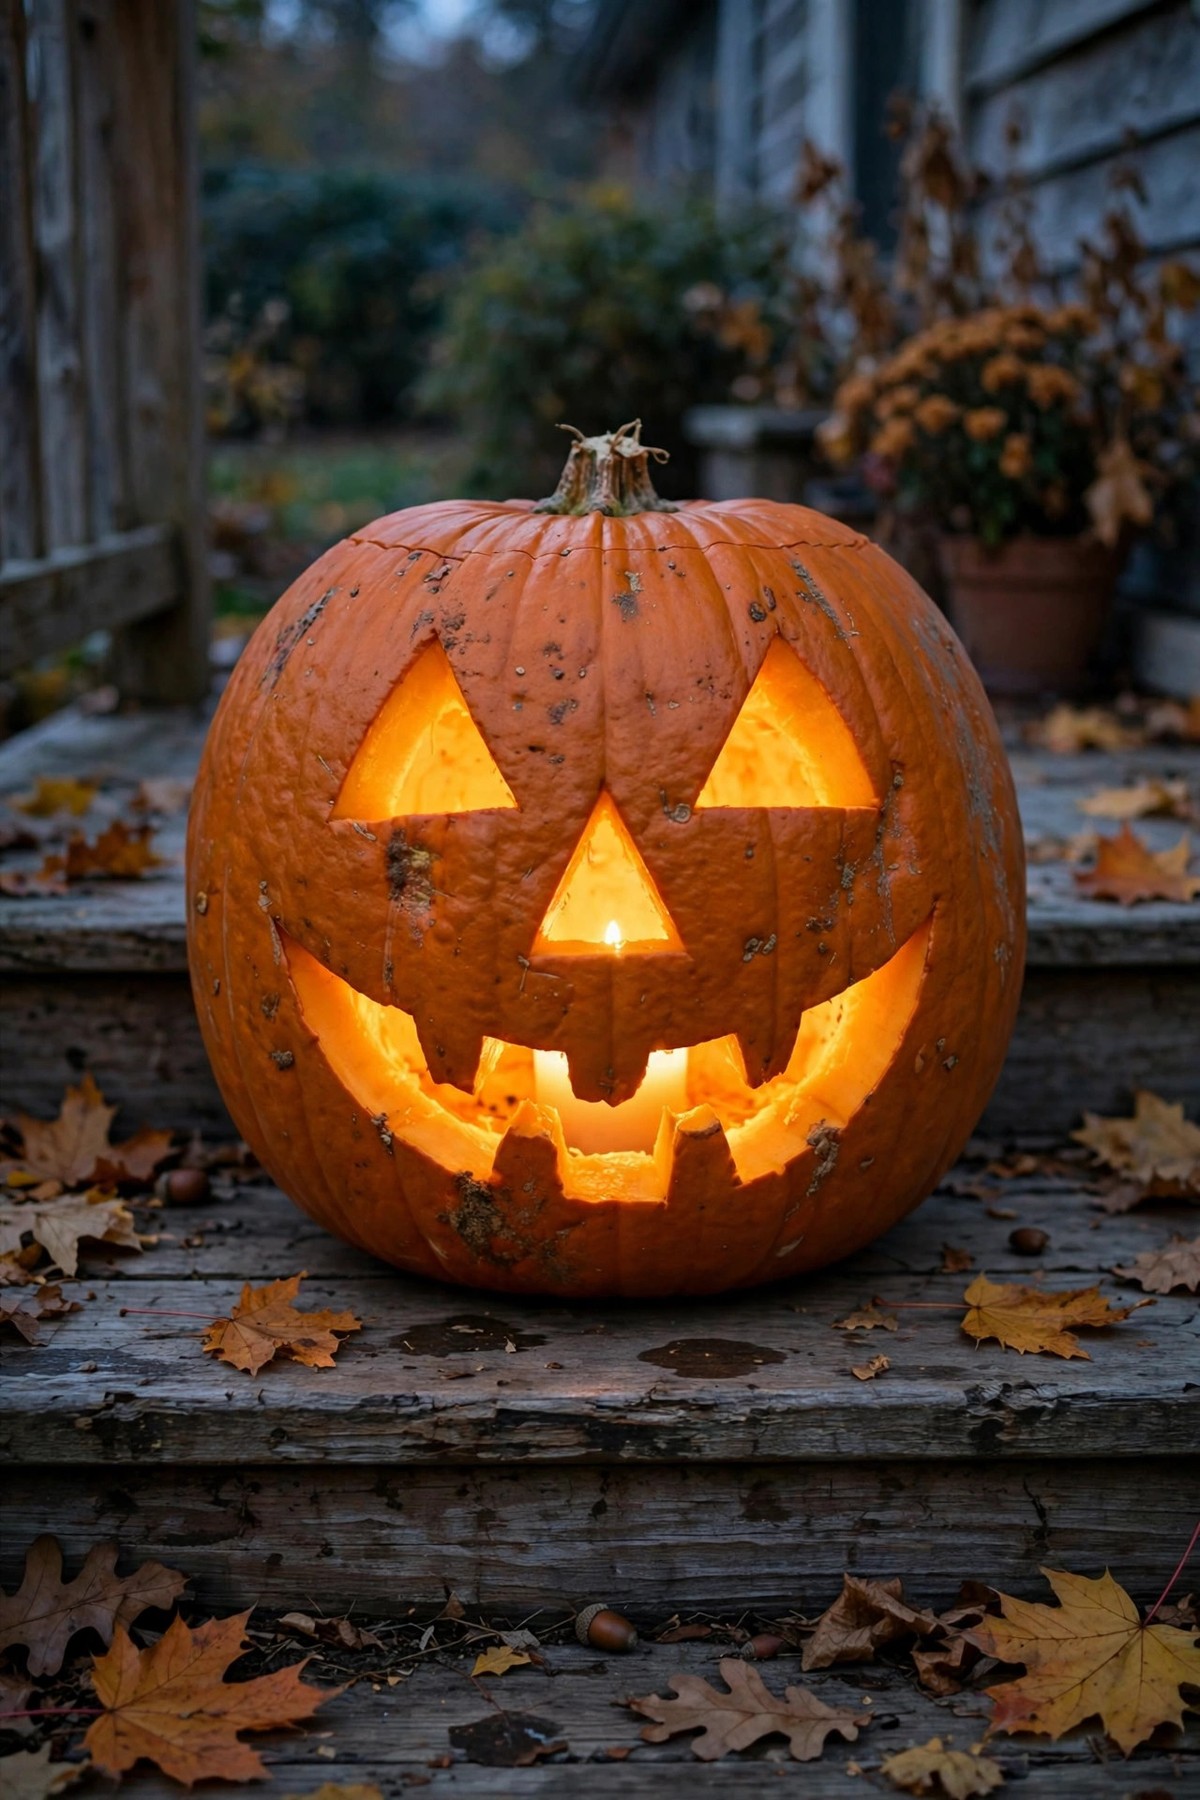
The classic jack-o’-lantern — triangle eyes, a triangle nose and a big toothy grin — is the face everyone pictures at Halloween. It has been carved for generations because it always looks great, in daylight and glowing on the steps at night.
To make it, draw the face first with a dry-erase marker so any mistake wipes away. Then saw slowly along the lines, push the pieces out from inside, and pop in a candle for that famous glow.
2. Happy Smiley Face Pumpkin
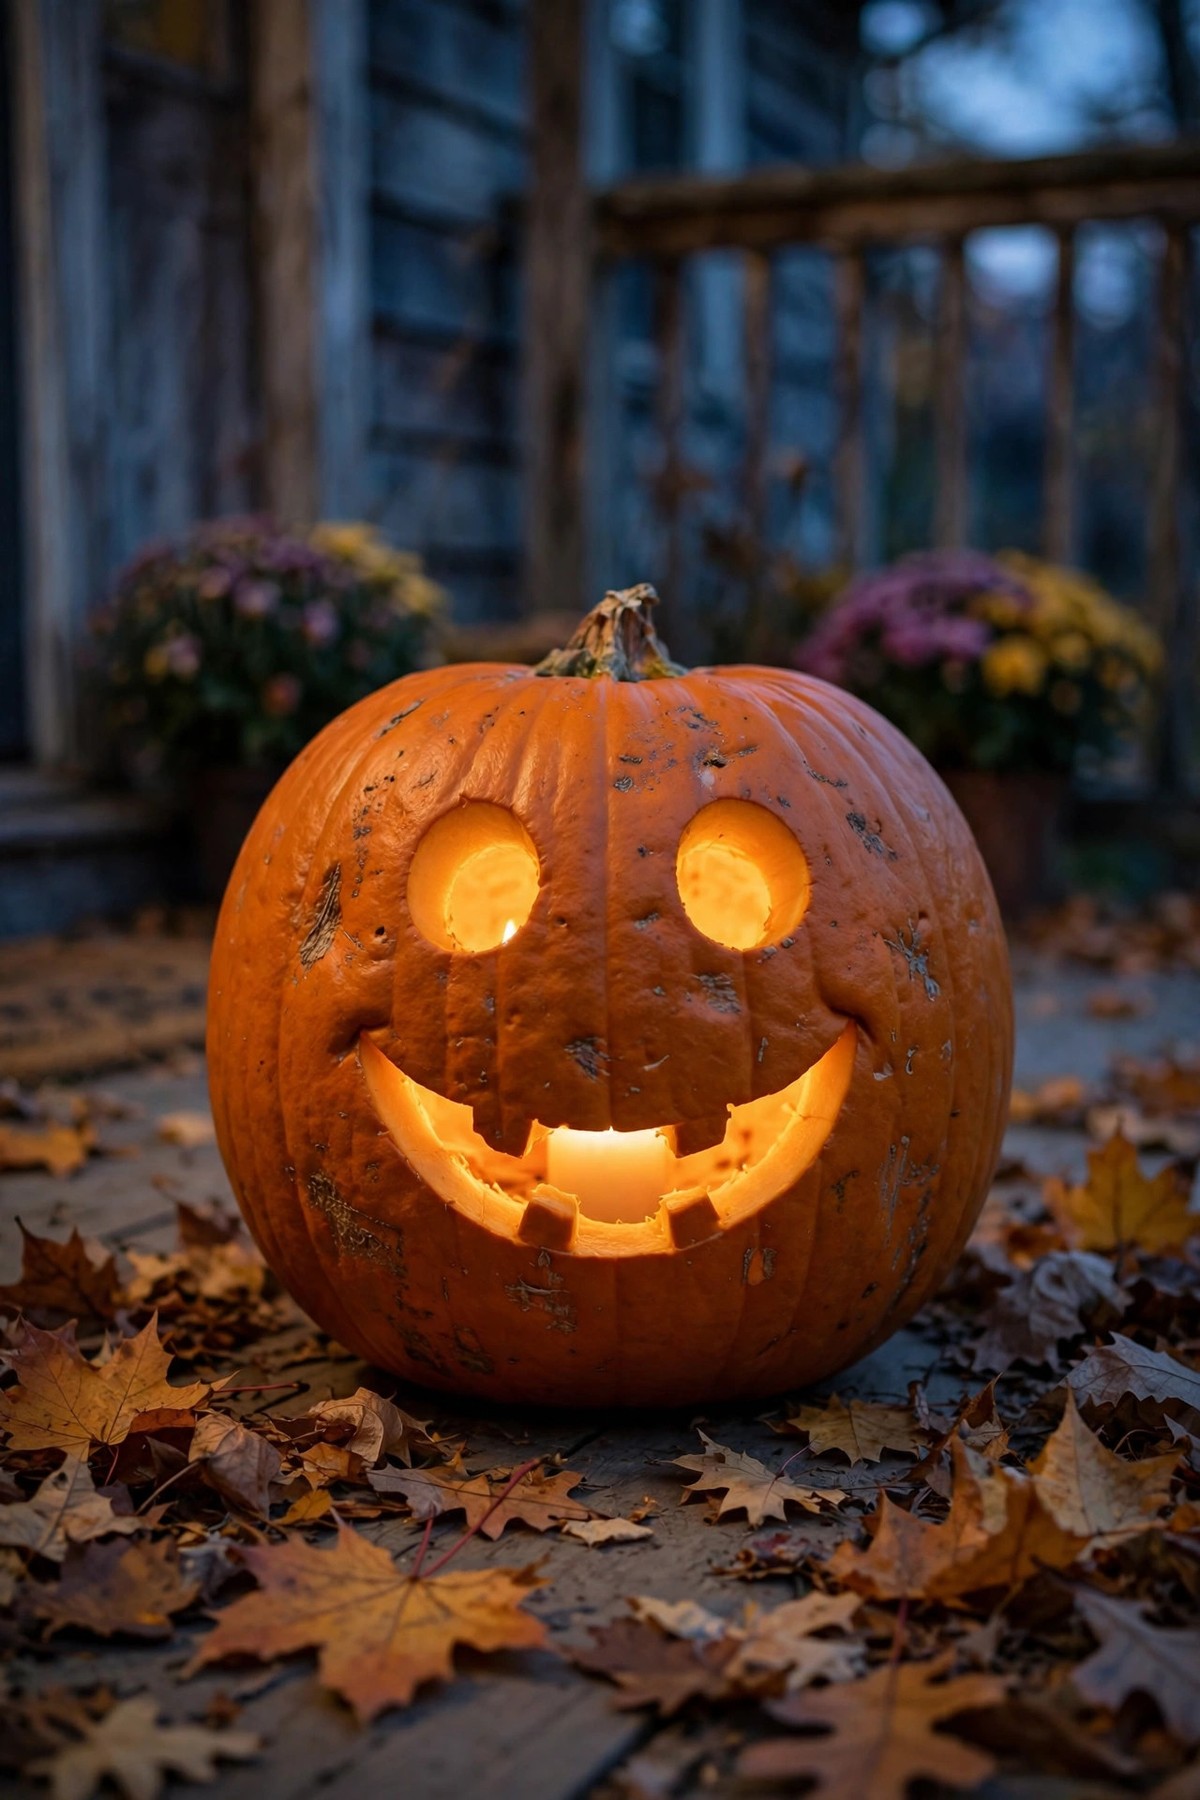
Round eyes and a big friendly smile make this the sweetest pumpkin on the whole porch. Nothing about it is scary, so it is perfect for families with little kids who want cute decor instead of spooky faces.
The shapes could not be simpler: two circles and one wide curved smile. Draw them big and chunky so they are easy to saw, and leave plenty of pumpkin between the eyes and mouth so the face stays strong.
3. Ghost Face Pumpkin
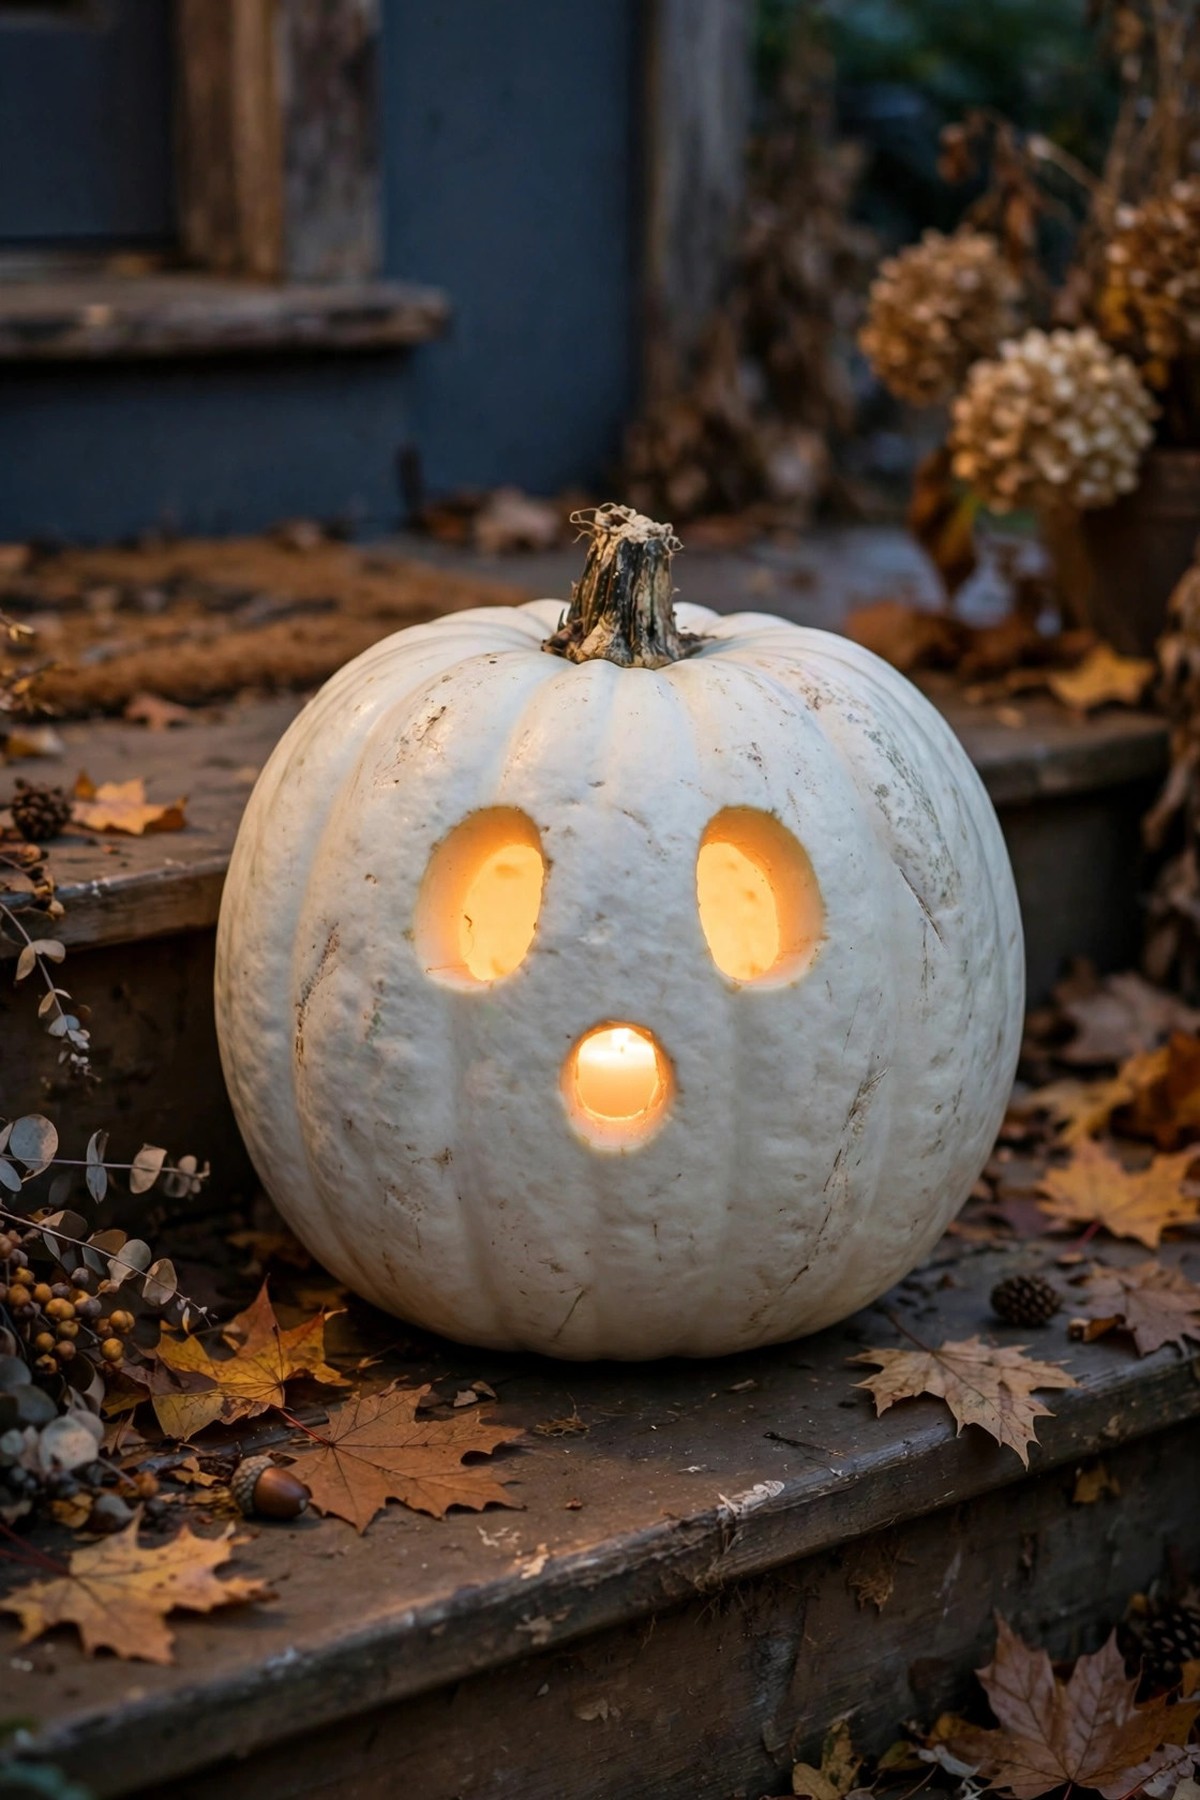
This little ghost is carved on a white pumpkin, which makes it stand out among all the orange ones. Two tall oval eyes and a small round “O” mouth are the whole face, and those three shapes look adorable.
Because the design is so simple, it is a wonderful first carve for kids with an adult helping. At night the candle glow turns the pale pumpkin into a floating ghost, especially if you group two or three on the steps.
4. Black Cat Pumpkin

Black cats and Halloween belong together, and this carving is much easier than it looks. You can carve a simple cat face with pointy ears and whisker lines, or carve the whole sitting-cat silhouette so it glows like a shadow at night.
For a fun 3D touch, save two triangle scraps and pin them on with toothpicks as ears. A tiny triangle nose and thin whisker cuts finish the face, and the design looks as good unlit during the day.
5. Silly Monster Pumpkin

One big eye, one small eye and a wonky zigzag mouth — this silly monster is the most forgiving design on the whole list. Wobbly lines and uneven shapes do not ruin it; they make the monster look funnier and more charming.
That makes it the perfect confidence-builder for a first-timer or a kids’ carving party. Add a crooked tooth or two inside the mouth, light it up, and watch this goofy creature steal the show from every pumpkin nearby.
6. Owl Pumpkin
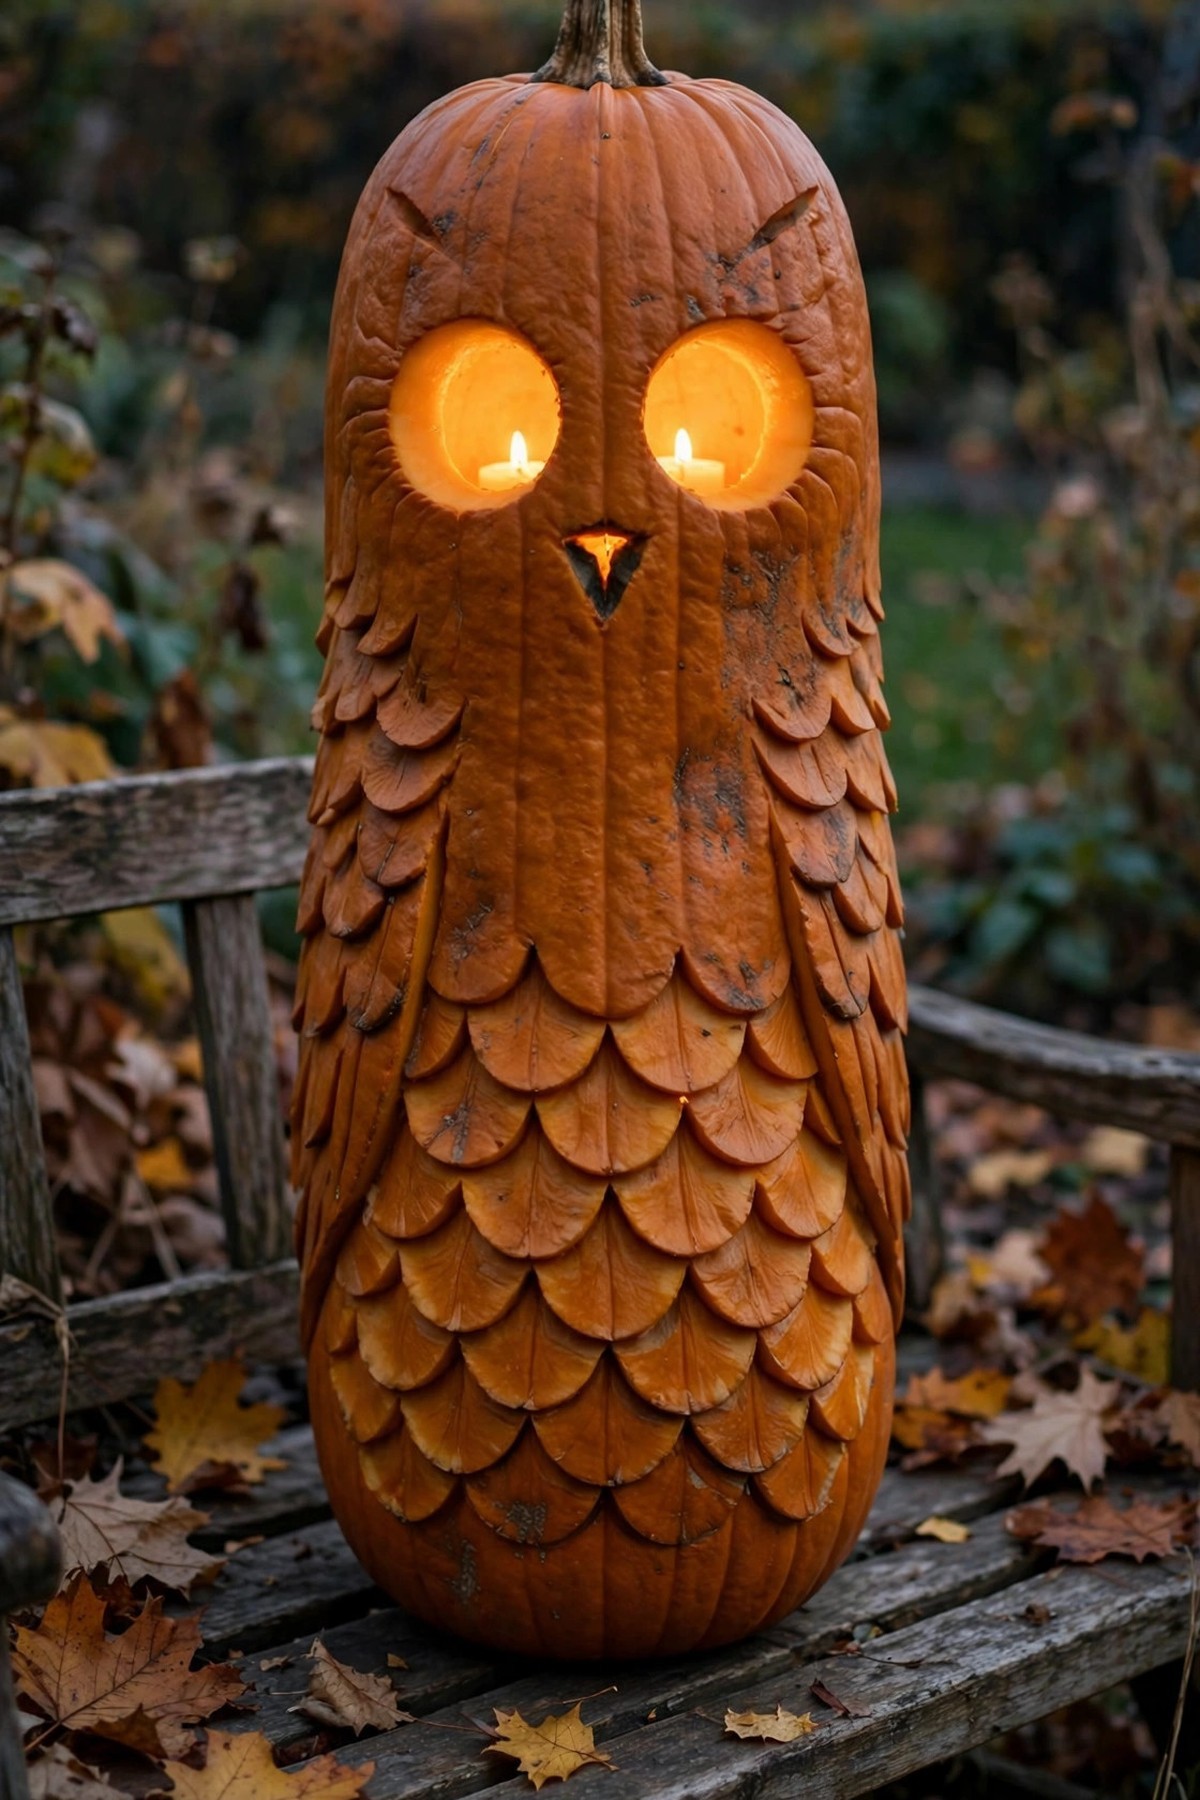
Two circle eyes, a tiny triangle beak and a few rows of scallop shapes for feathers turn a tall pumpkin into a wise owl. The round eyes glow brightly at night, giving it a watchful, woodland look on the porch.
Start with the eyes, using a melon baller or a small saw to keep the circles neat. Then add the beak and feather scallops below. If you like, push two sticks into the sides as wings for a finishing touch.
7. Drilled Polka Dot Pumpkin

No drawing skills and almost no carving — this lantern pumpkin gets its pattern from a power drill. Rows of holes glow like lights all over the pumpkin, and the effect looks far more fancy than the effort it takes.
Mark your dots first with a marker, spacing them evenly or scattering them randomly. Then drill through the wall using two or three different bit sizes. Brush away the loose bits, add a candle or LED light, and enjoy.
8. Moon and Stars Pumpkin

A big crescent moon surrounded by a few chunky stars is one of the prettiest night-sky designs you can carve. It feels magical rather than spooky, so it suits a calm, dreamy Halloween porch or a bedroom window display.
Keep every shape big and simple, with thick pumpkin bridges between the moon and stars so nothing breaks. A helpful trick is to carve the stars first while the pumpkin is strongest, then finish with the crescent moon in the center.
9. “BOO!” Pumpkin

Sometimes a word says it all. Big chunky BOO letters carved through the pumpkin can be read from down the street, and the design takes only three shapes to complete, which is ideal for a beginner.
Draw the letters large, leaving a thick bridge of pumpkin across the middle of each O so the centers do not fall out. Saw slowly around each letter, push the pieces out gently, and your pumpkin will be shouting at trick-or-treaters all night.
10. Bat Pumpkin
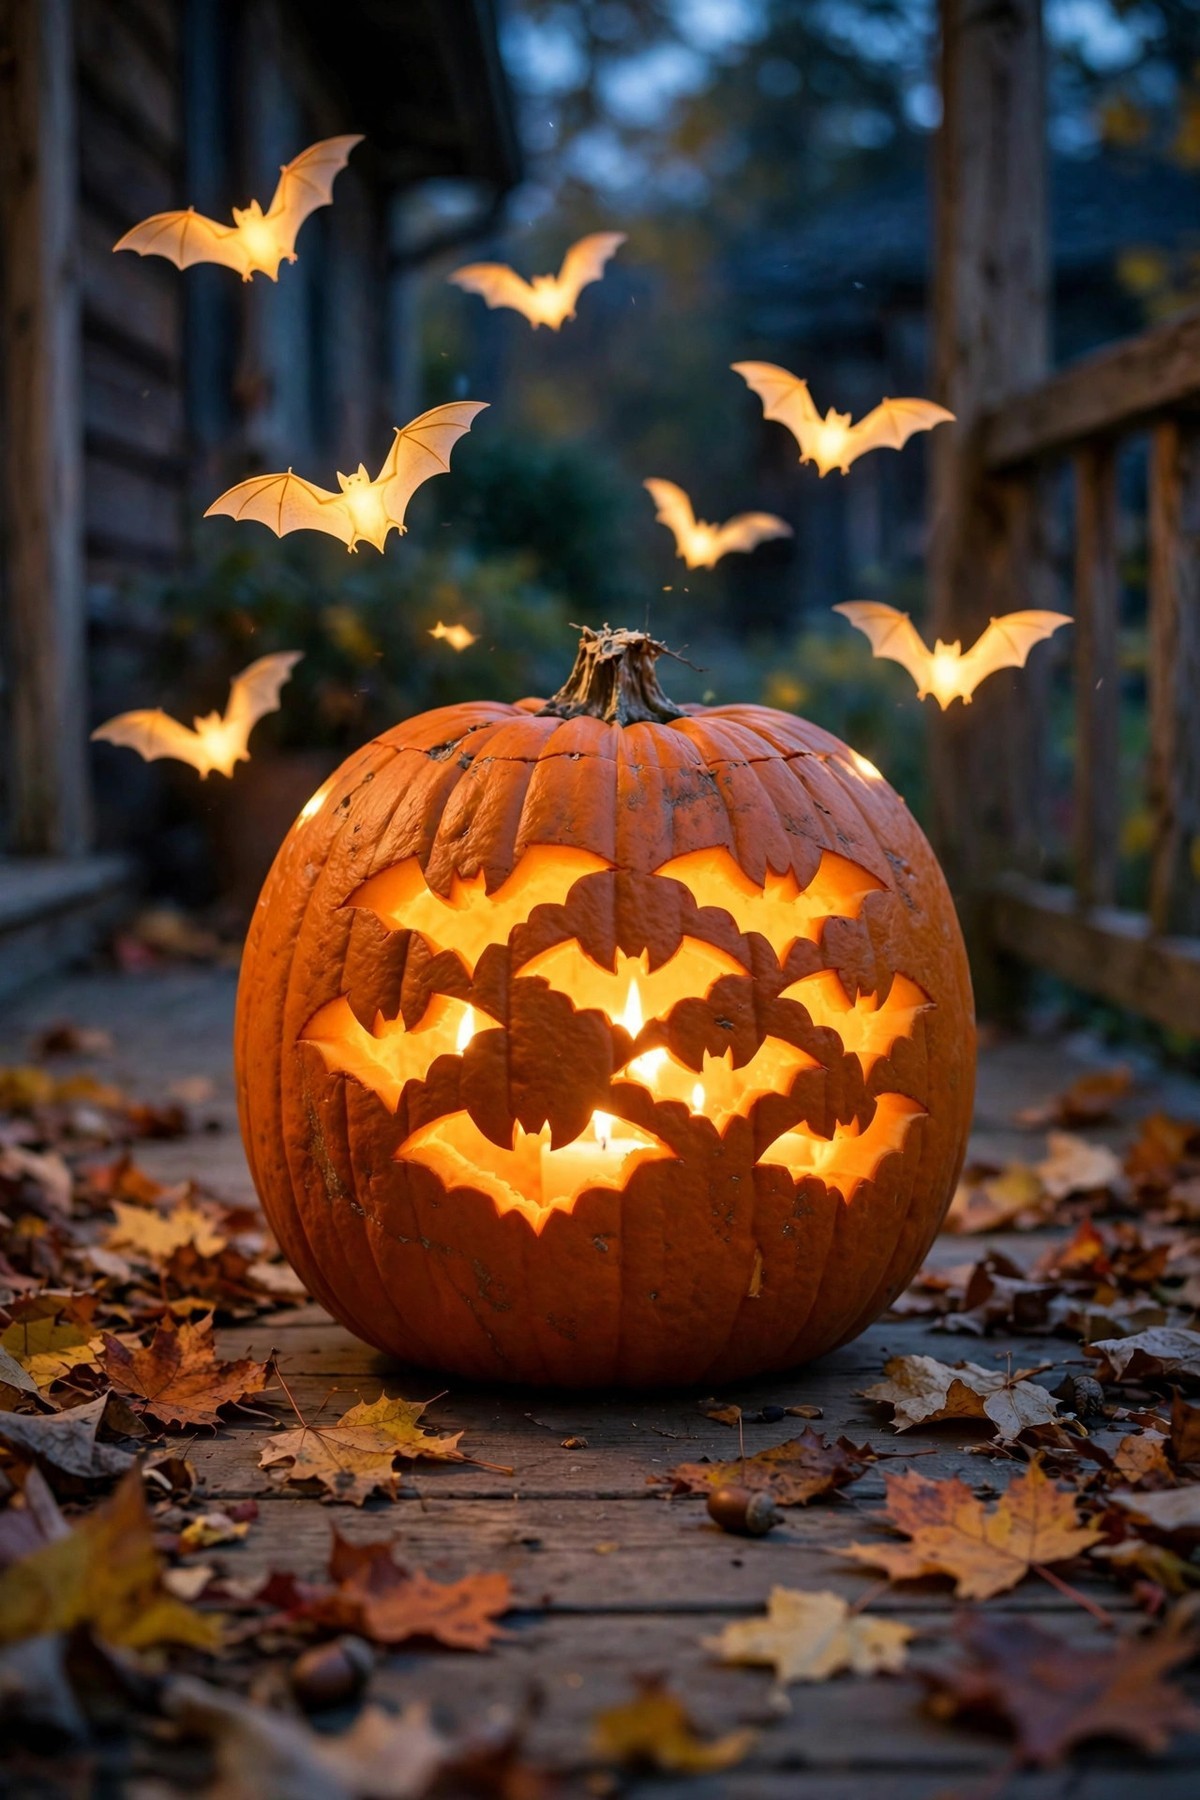
A few bats flying across the front of the pumpkin look spooky in the best way, yet each bat is just a simple curved shape: two wings, a dip in the middle and a tiny head bump.
You can carve three or four small bats for a flying effect, or make life even easier with one big bat in the center. Either way, the glowing silhouettes look fantastic at dusk on a tall pumpkin with room to spread the wings.
11. Cookie-Cutter Star Pumpkin

Here is the secret weapon for perfect shapes without any sawing at all: metal cookie cutters. Press a star cutter flat against the pumpkin, tap it through the wall with a rubber mallet, and a clean star pops right out.
Repeat with crescent moons, hearts or bats to build a whole pattern around the pumpkin. This technique is fast, safe and brilliant for kids’ designs, and the even shapes look professionally done once the candle is glowing inside.
12. Sleepy Face Pumpkin

Crescent-moon closed eyes, a tiny nose and a small round yawning mouth make this the sleepiest pumpkin on the block. It has a calm, cozy feeling that fits an early night and a quiet porch perfectly.
Every line here is a gentle curve, so there are no sharp corners to struggle with. Carve the two crescents first, then the little yawn below them. For extra charm, rest a small nightcap or a plaid blanket over the top of the stem.
13. Spider Pumpkin
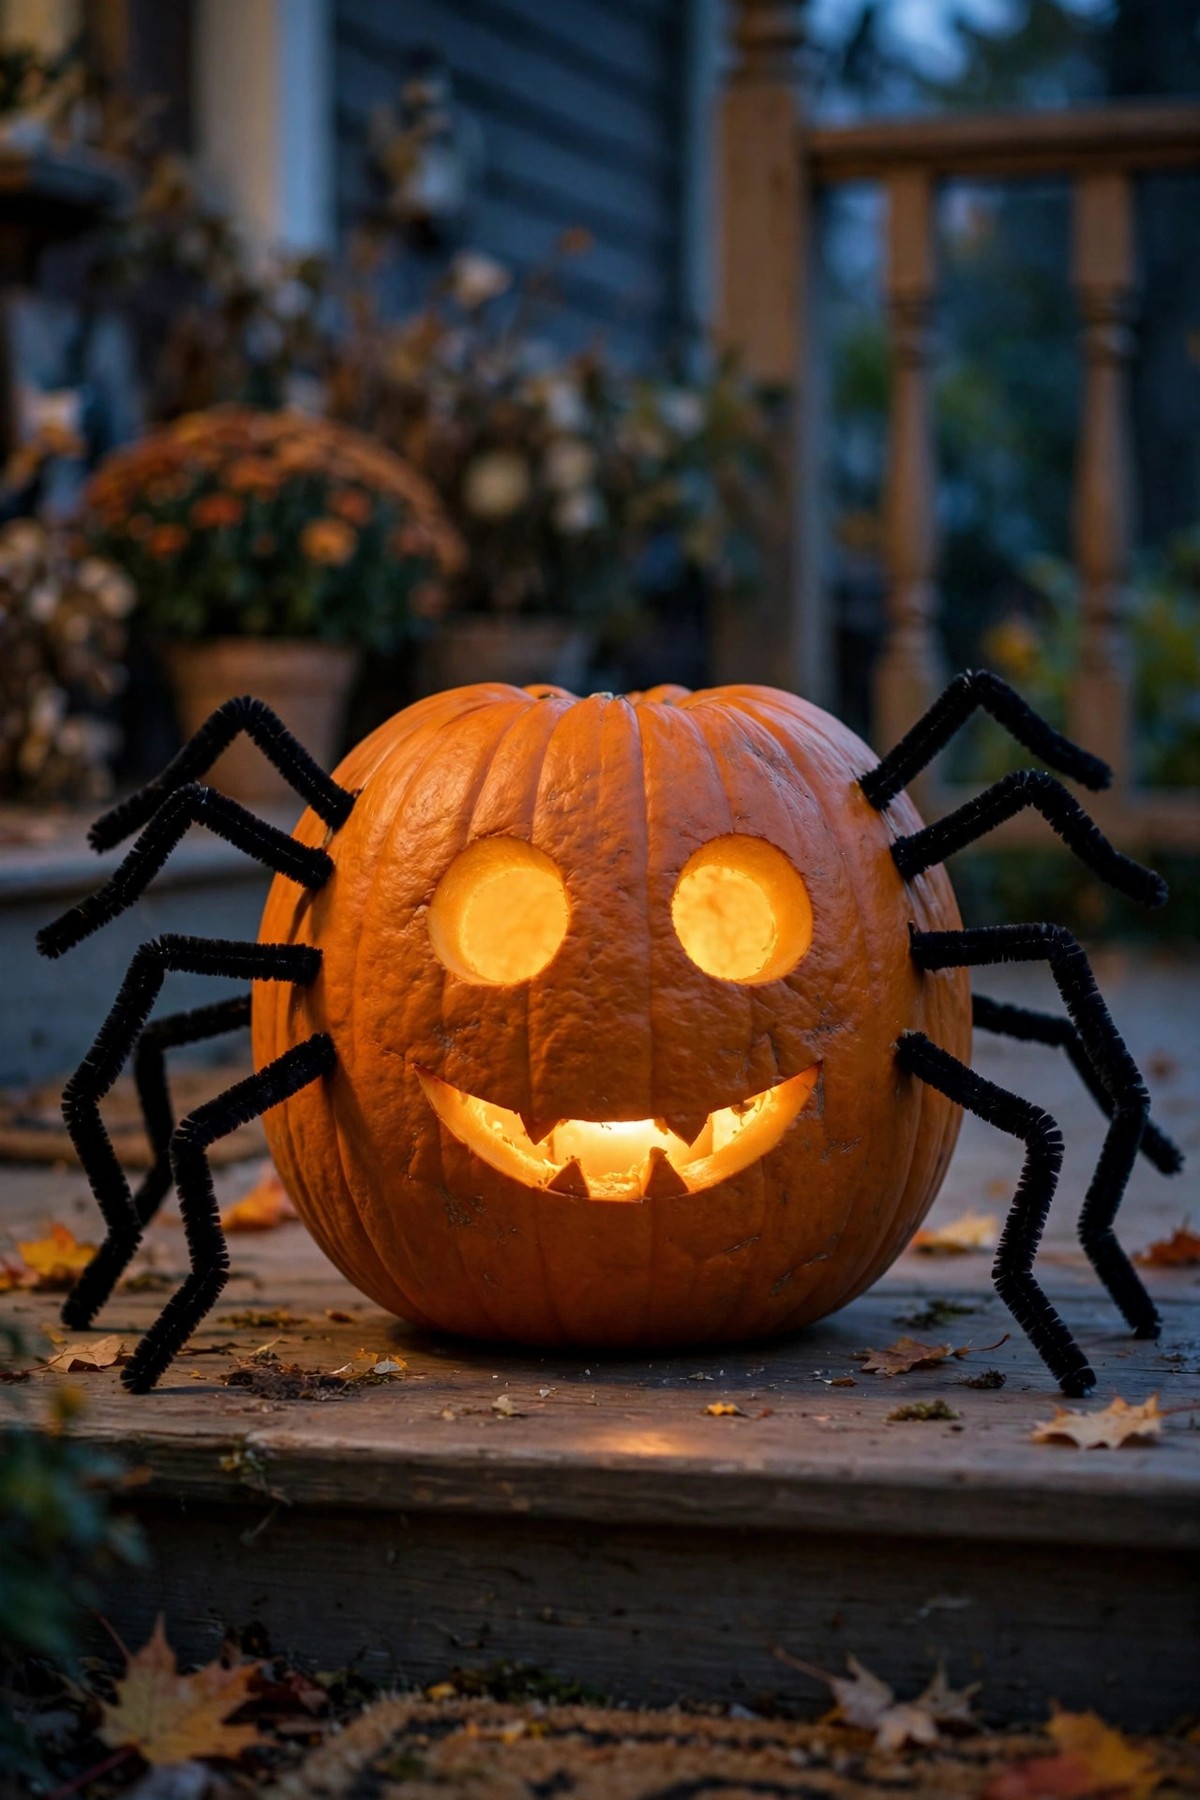
Half carving, half craft project, this spider pumpkin is a guaranteed hit with kids. The pumpkin itself only needs two round eyes and a small smile carved into it — the magic comes from what you stick into the sides afterwards.
Push four black pipe cleaners into each side and bend them into wiggly spider legs. The legs make the whole pumpkin look alive and a little bit silly, and the project takes a few minutes from start to finish.
14. Toothy Grin Pumpkin

A wide smiling mouth becomes hilarious when you leave two or three square teeth standing inside it. Here is the happy secret: leaving teeth in place is actually easier than cutting them out, because you simply carve around them.
Add two simple triangle or circle eyes above the grin and the face is complete. When the candle is lit, the teeth glow as dark silhouettes in the bright mouth, and this goofy pumpkin gets laughs from everyone who walks past.
15. Heart Eyes Pumpkin

Two hearts for eyes and one happy smile turn your pumpkin into a real-life emoji, full of love for Halloween. It is a sweet design for a doorstep, a classroom or anyone who prefers cute over creepy every single time.
If freehand hearts feel tricky, stamp them with a heart-shaped cookie cutter first and then saw along the stamped outline. Keep the smile wide and simple, and consider a small heart nose in the middle for an extra adorable finish.
16. Pumpkin Fairy House

Square windows, a round door and a pebble path turn an ordinary pumpkin into a tiny fairy house straight out of a storybook. The carving itself is only simple rectangles and one arch, so beginners can absolutely manage it.
The real magic is in the decorating around your shapes. Add a few tiny pebbles as a path, moss or leaves on top as a roof garden, and warm light inside so the little windows glow like someone tiny is home.
17. Jack Skellington Pumpkin

This famous skeleton face looks impressive, but it is secretly one of the easiest character carves of all. Two big round eyes, two small slanted nose holes and one long smile — the whole design is only four simple cuts.
Draw the smile as one long curved line and add the little stitch marks afterwards with shallow cuts. Carve it on a round pumpkin, white or orange, and every fan who passes your porch will recognize the Pumpkin King instantly.
18. Starry Night Drilled Pumpkin
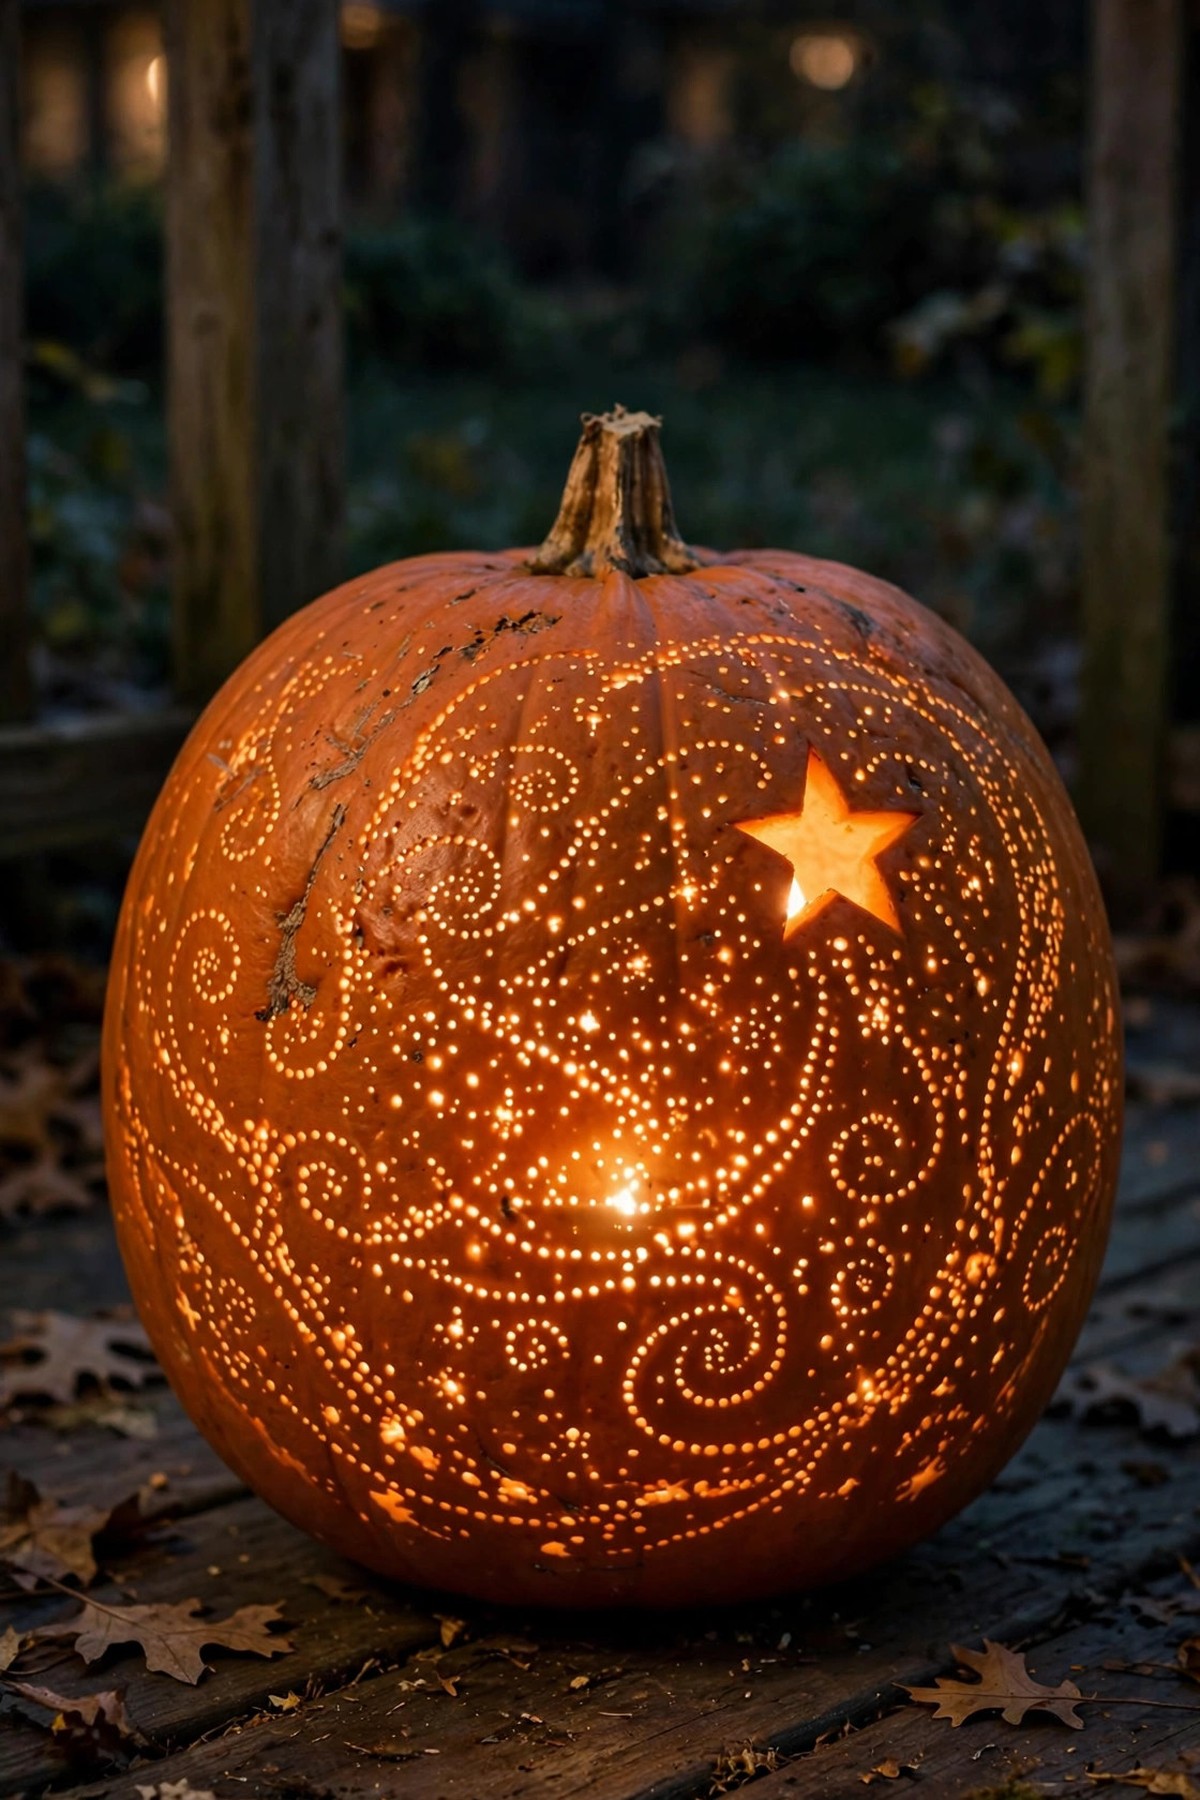
Channel a famous painting with dozens of tiny drilled holes swirling across the pumpkin like a starry sky. Add one bigger star or a crescent moon shape, and when the candle is lit the whole surface sparkles and glitters.
Use your smallest drill bit for the star field and work in swirls and clusters instead of straight rows. Mark a few guide dots first if you like, but honestly, the random handmade look is exactly what makes this one beautiful.
19. Puppy Face Pumpkin
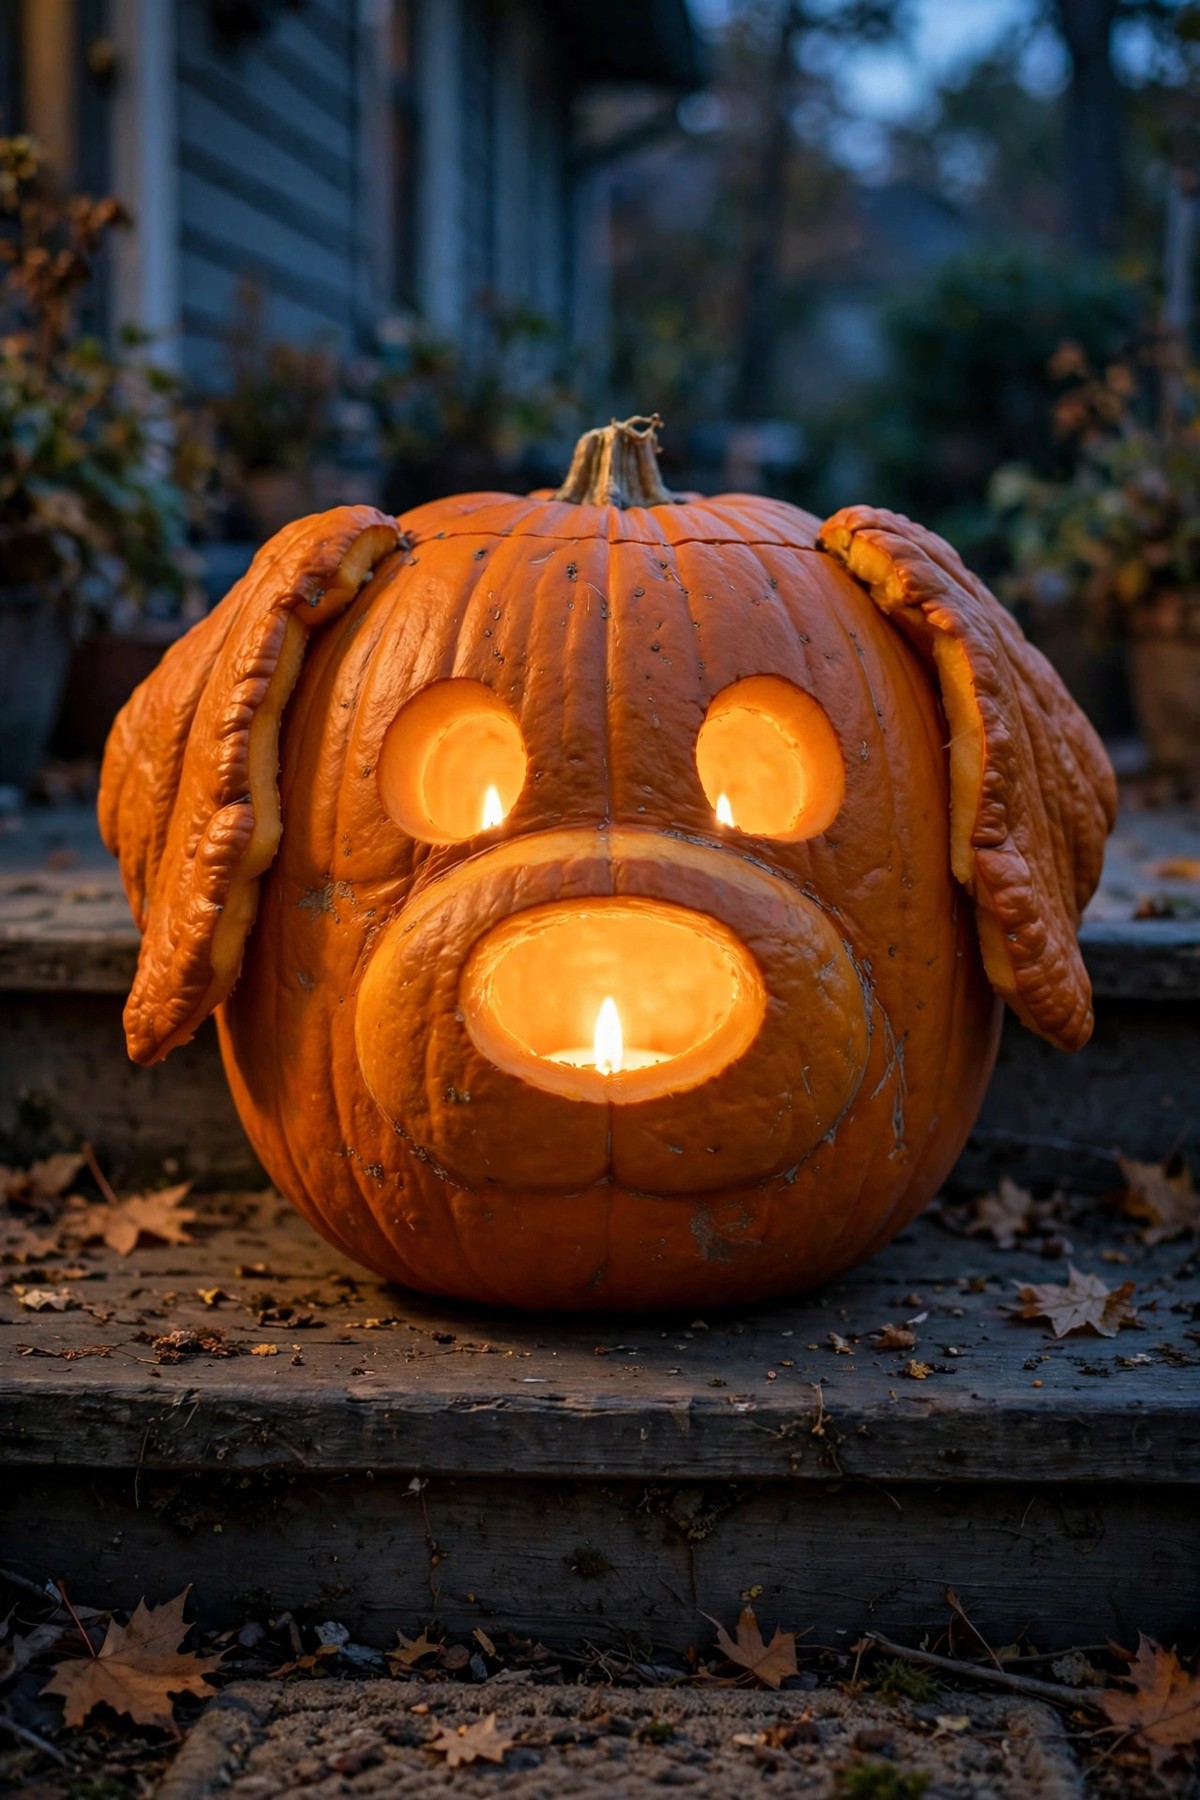
Round eyes, a big oval nose and a sweet smiling mouth make a pumpkin puppy that nobody can resist. It is a friendly, gentle design that little children especially love, with no scary parts at all.
For the best detail, use the pumpkin’s own cut-out pieces as floppy ears: shape two ovals and pin them to the sides of the head with toothpicks. A few small dot cuts above the eyes add eyebrows and give your puppy real character.
20. Vomiting Pumpkin
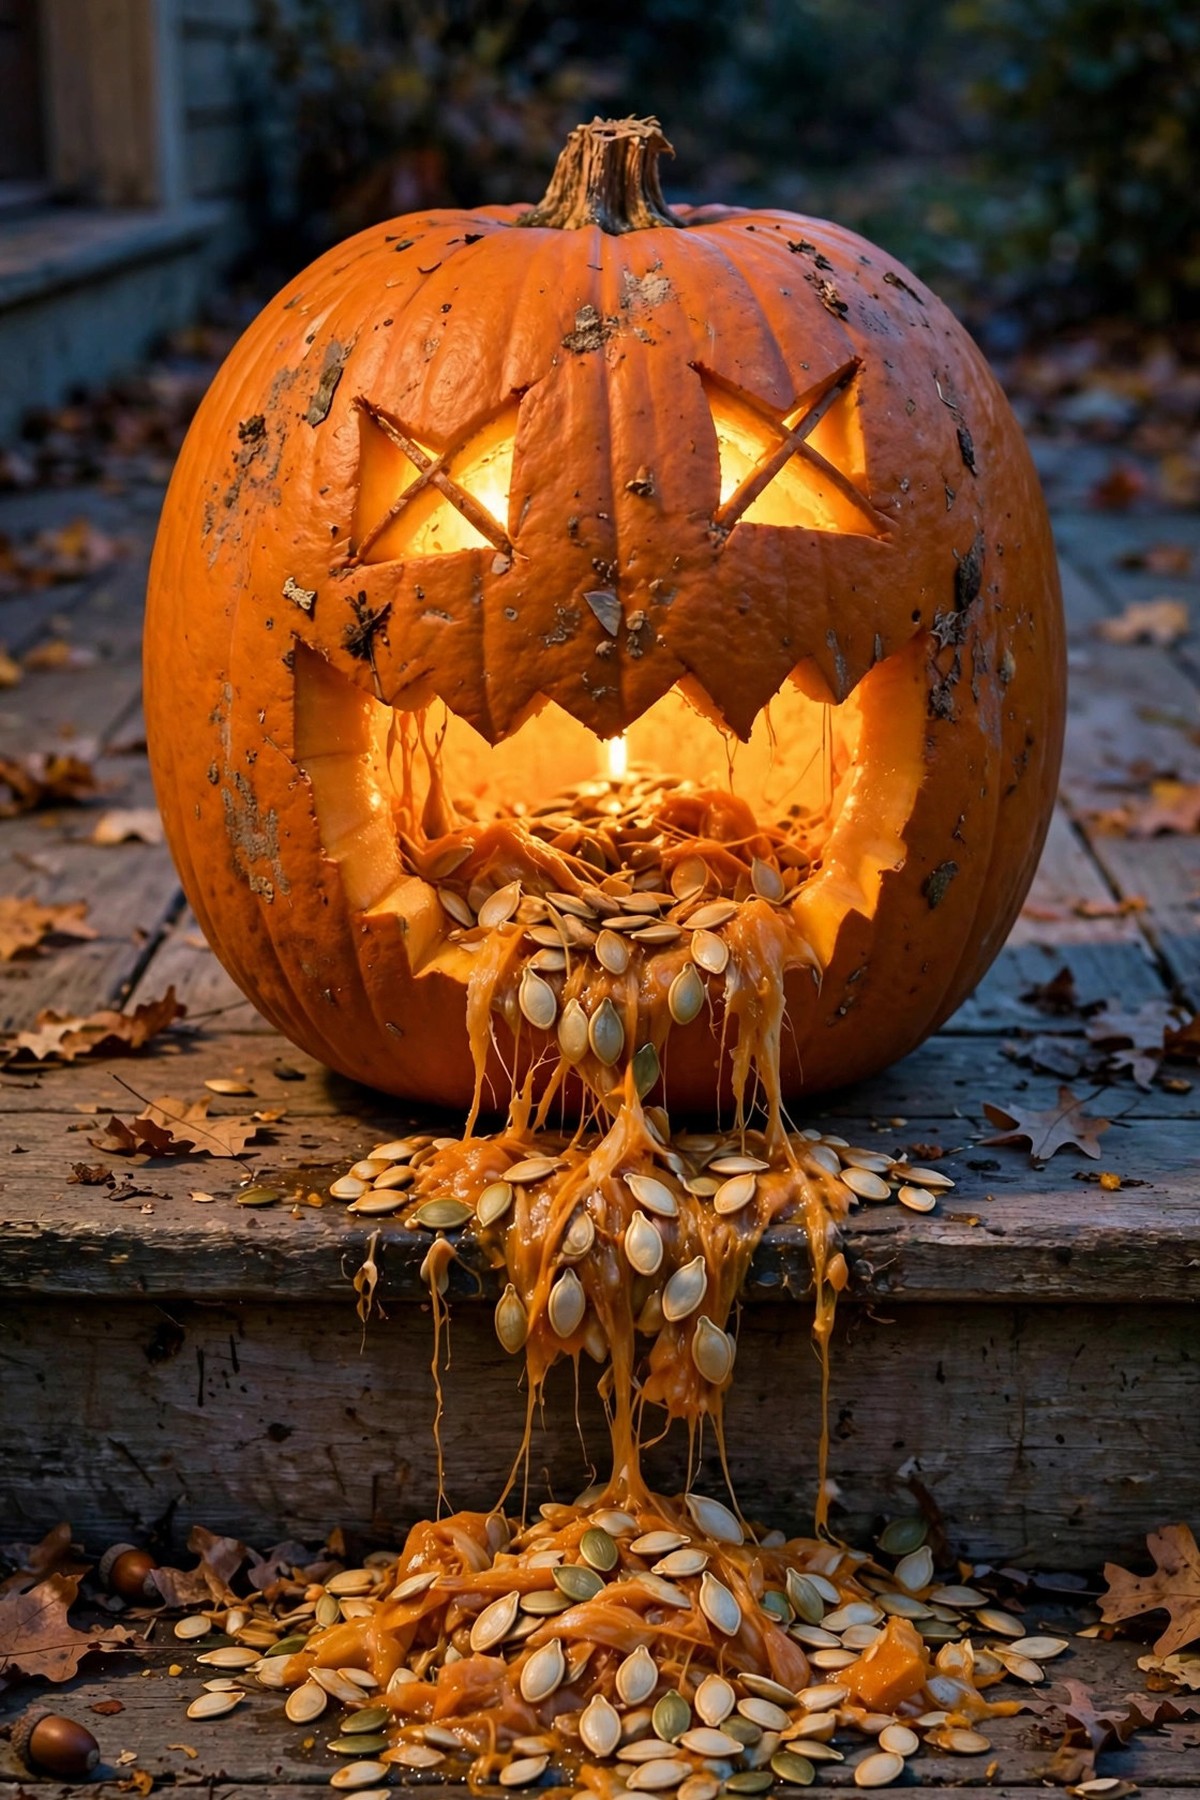
This gross-out classic makes everyone laugh, every single year. Carve a queasy face — X-shaped or squinty eyes work perfectly — with one big round open mouth low on the pumpkin, close to the ground.
Then comes the fun part: when you gut the pumpkin, save all the seeds and stringy pulp, and pile it spilling out of the mouth onto the step. It looks disgusting, it takes almost no carving skill, and it photographs brilliantly.
21. Stacked Pumpkin Totem
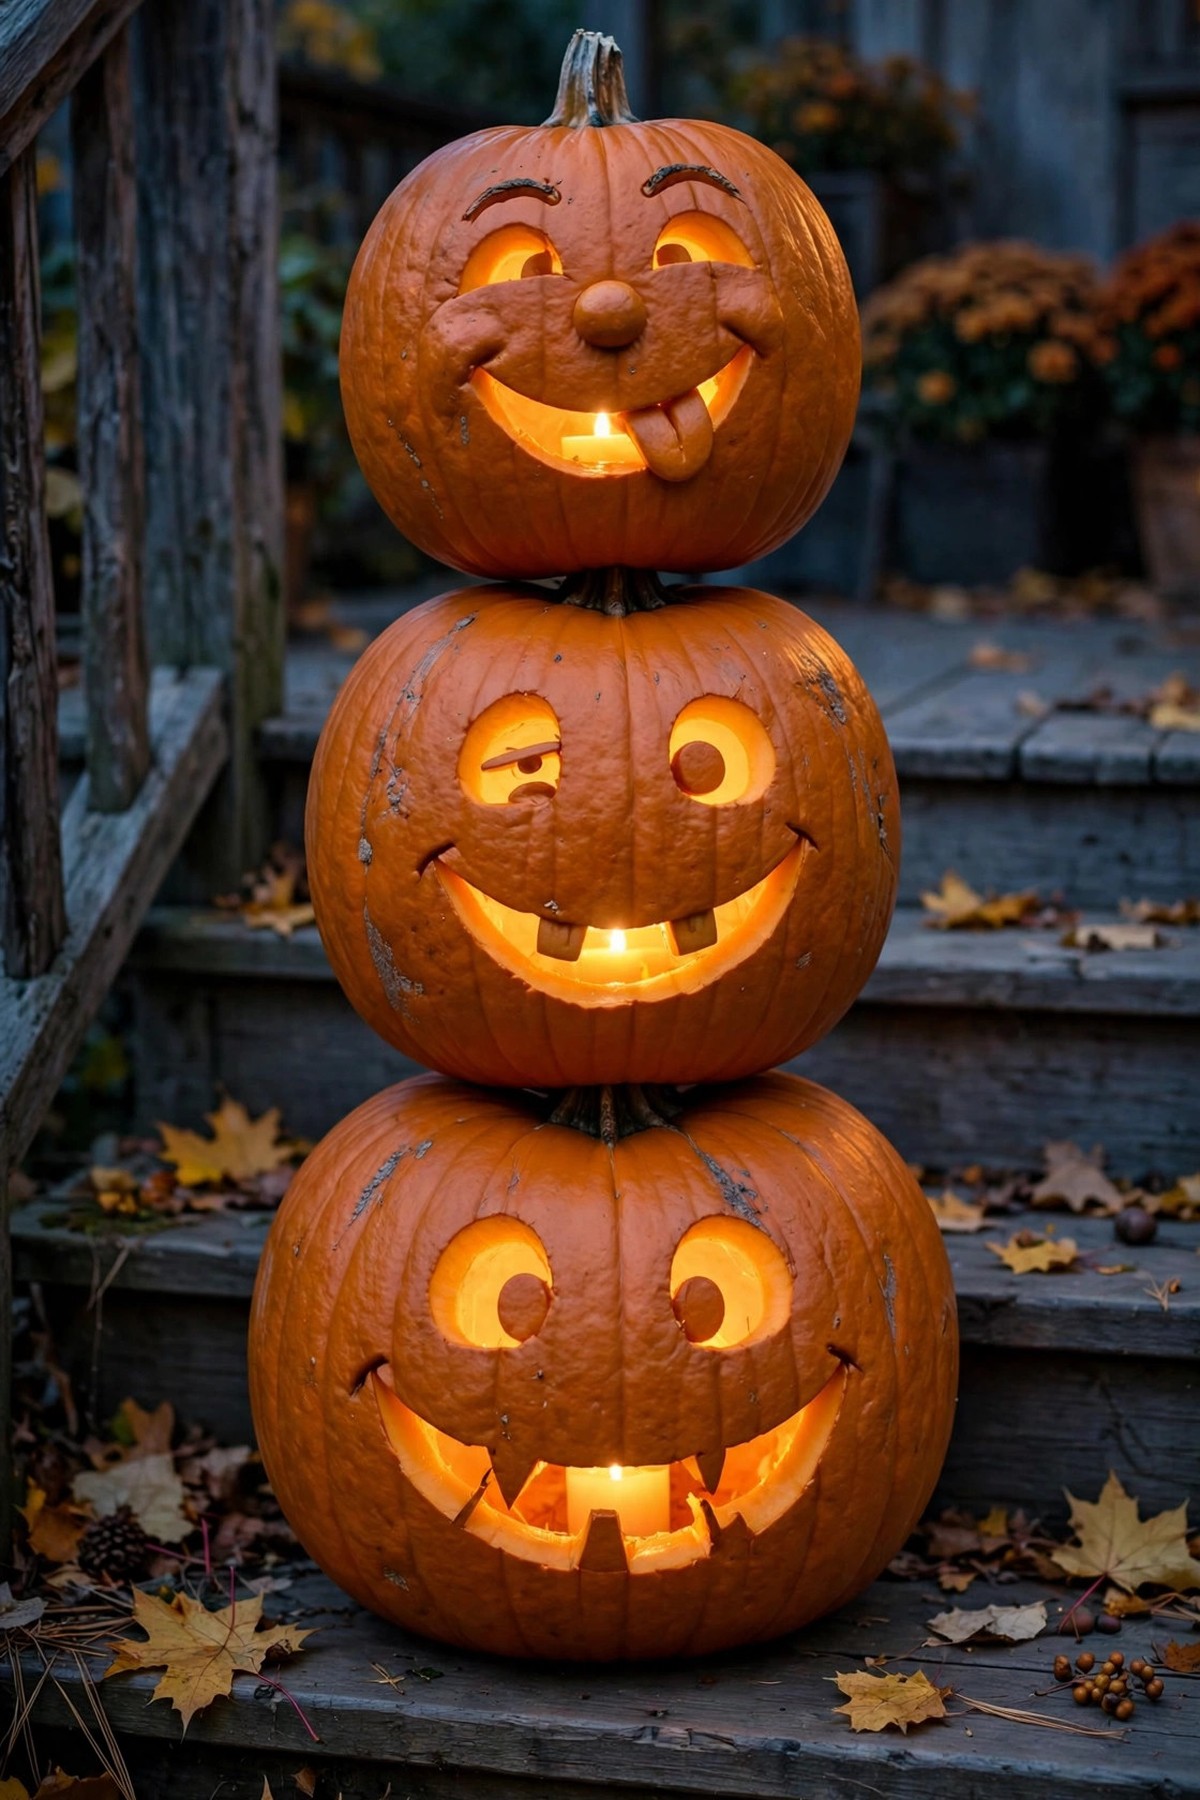
Why carve one pumpkin when you can stack three? Carve a face on each pumpkin — a grin here, a sleepy face there, a surprised O mouth on top — and pile them into a totem pole on your steps.
Each face on its own is a beginner carve, but stacked together they look like one impressive display. Choose pumpkins with flat tops and bottoms so the tower stands steadily, and light the middle one brightest for a layered glow.
22. Surprised “O” Mouth Pumpkin
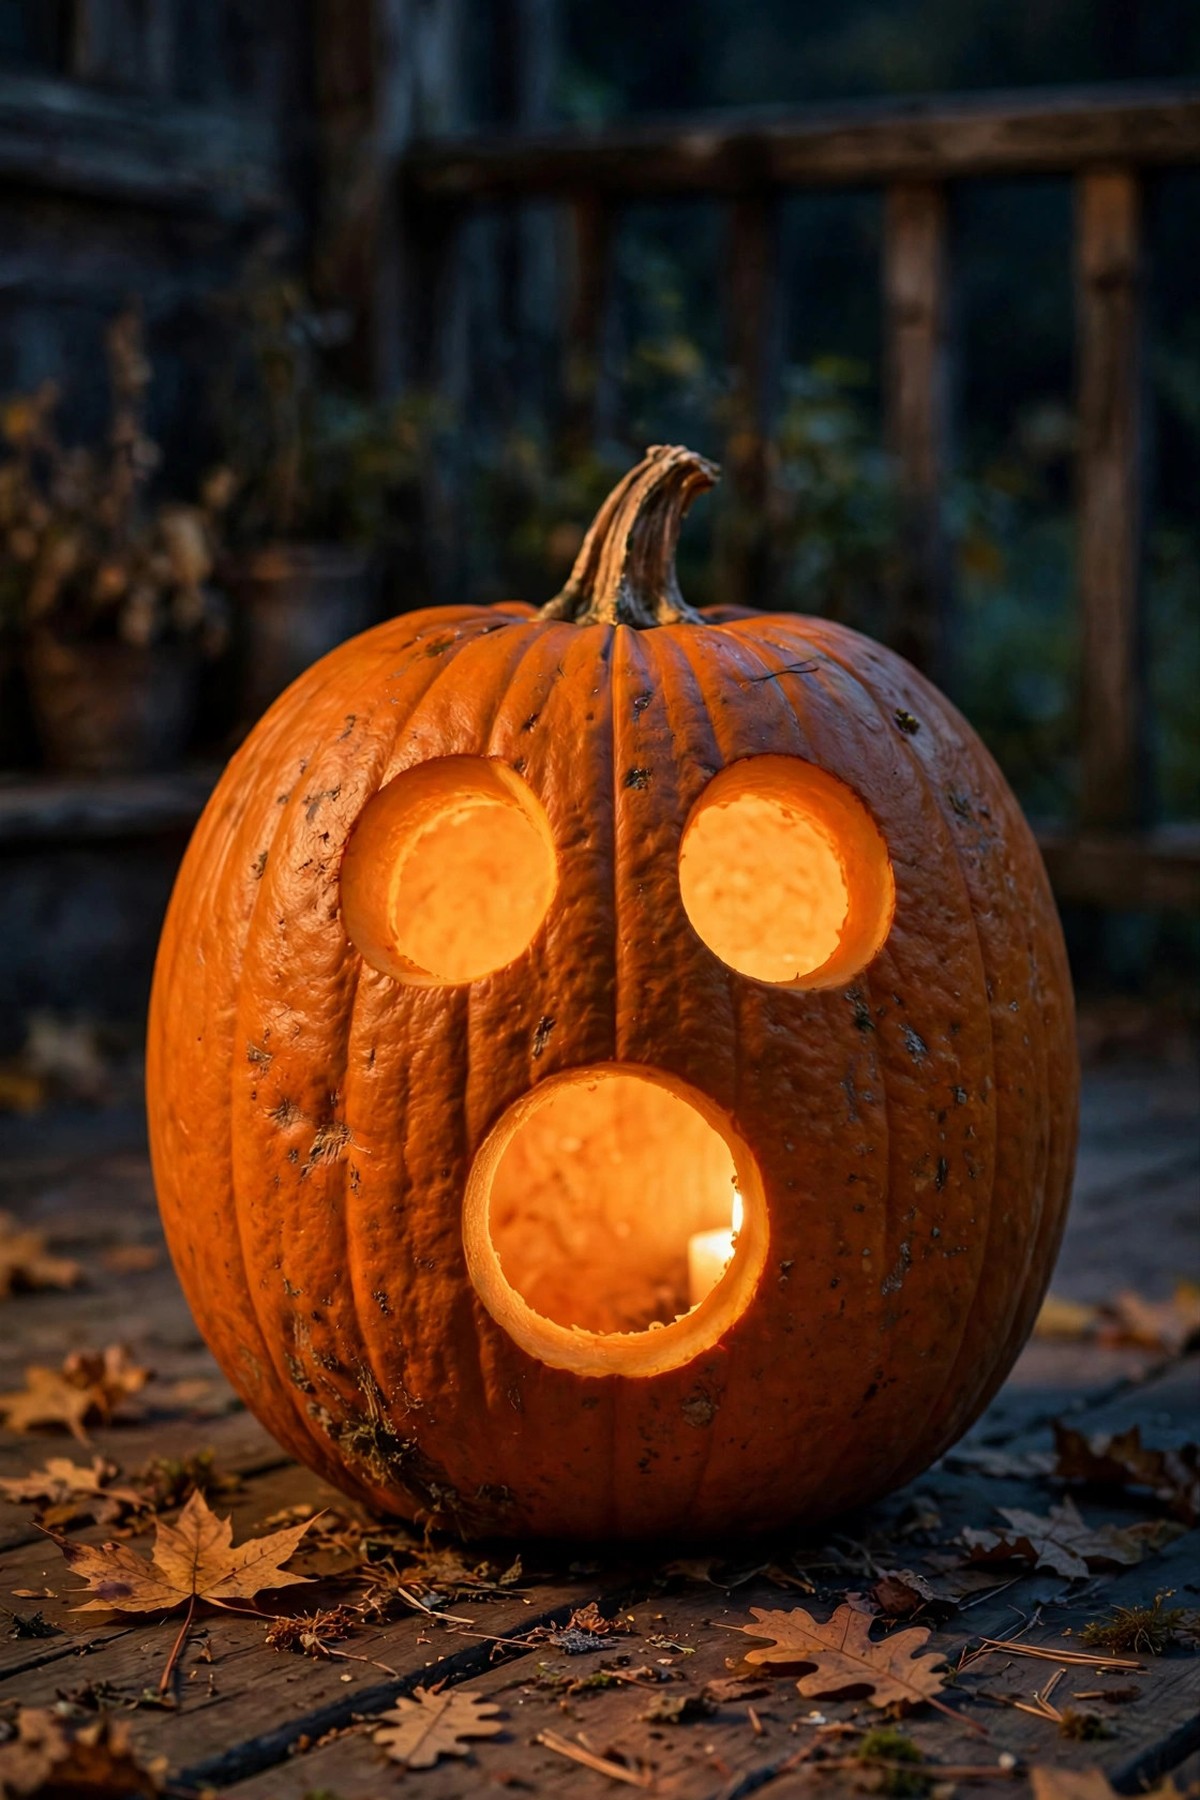
Two wide circle eyes and one big round O mouth — that is the entire design, and it might be the fastest carve on this list. The shocked expression is simple, funny and full of personality.
Because the shapes are so basic, this is a great design to hand an older child with a safety saw and supervision. Make the mouth extra big for a sillier look, and stand it next to a calm sleepy pumpkin for a comedy pair.
23. Fall Leaf Pumpkin
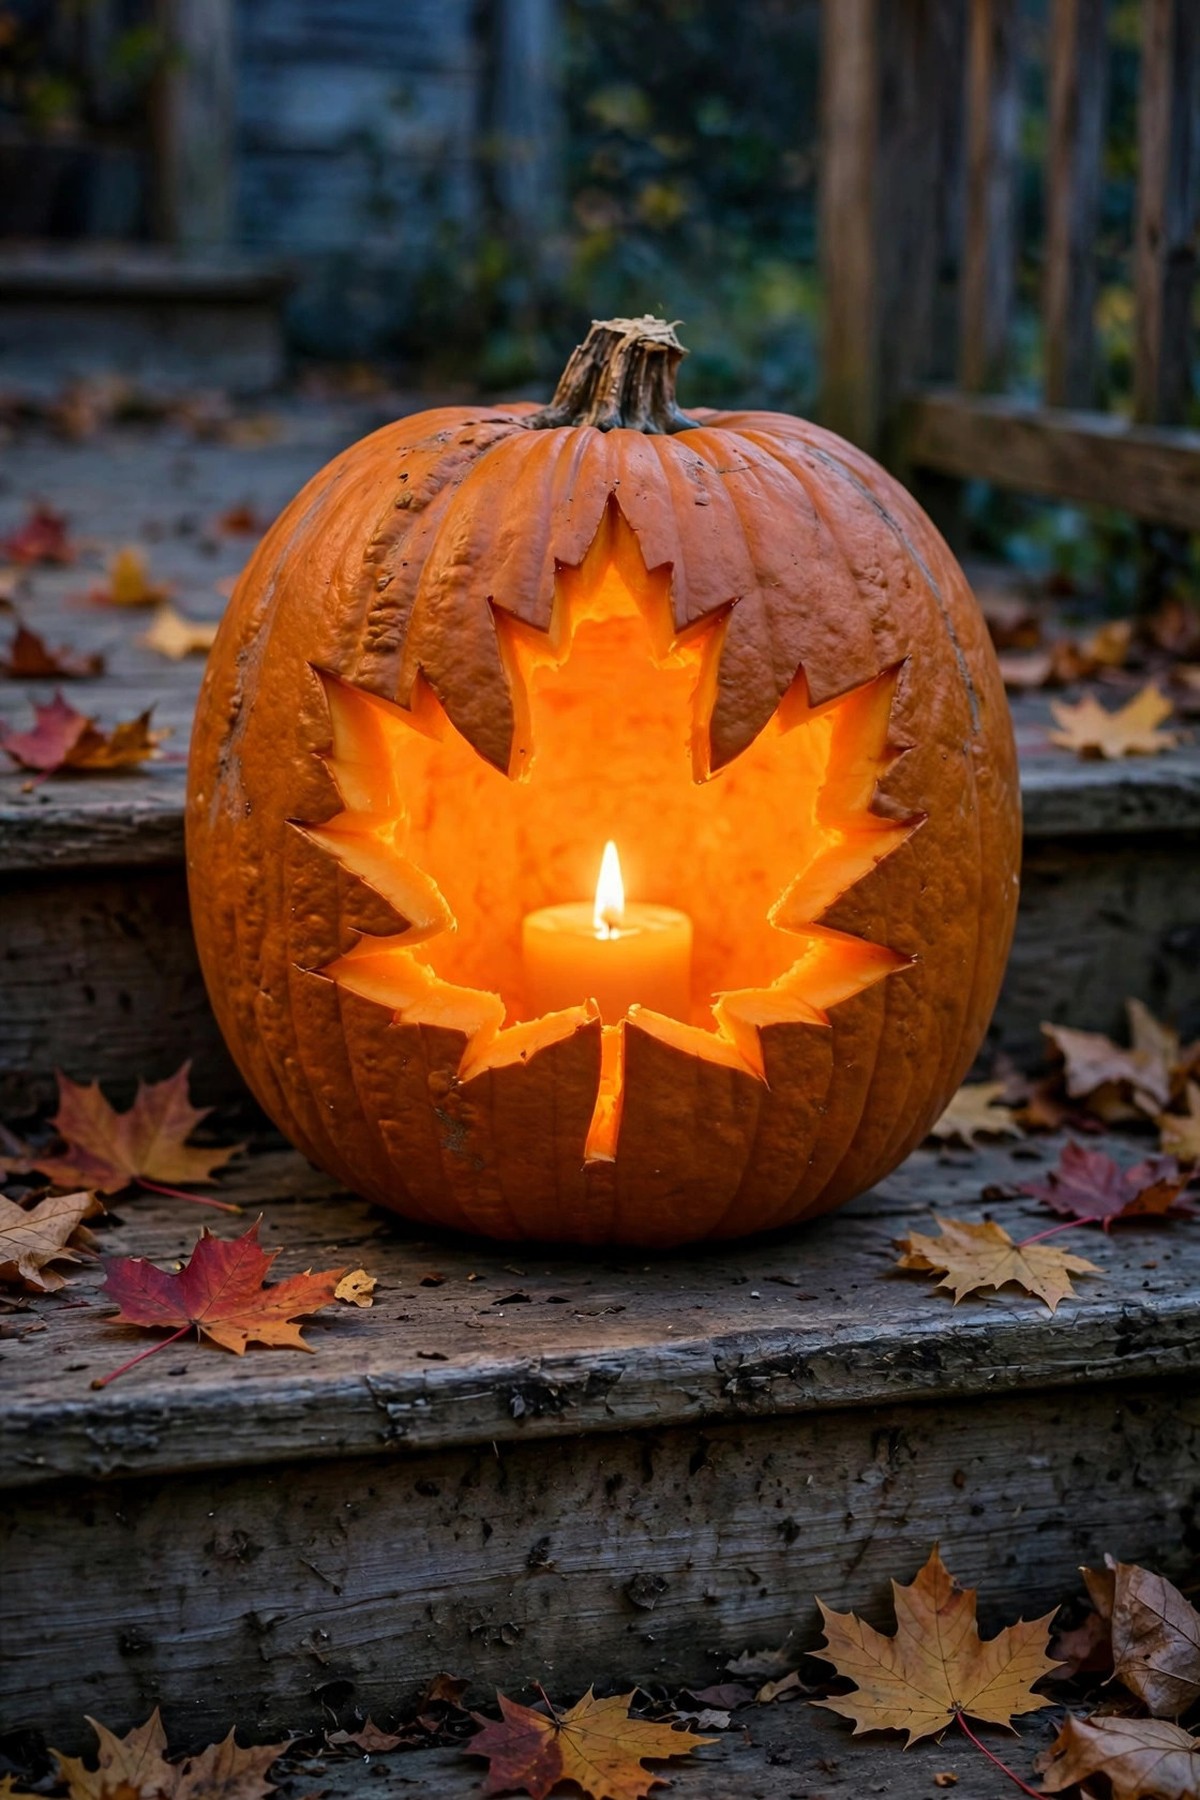
One big maple leaf carved through the center celebrates the autumn season, not just Halloween night. It looks beautiful on a porch surrounded by real fallen leaves, and it stays in style right through to Thanksgiving.
Trace a real leaf or a printed template so the shape is easy to follow. If cutting all the way through feels hard, etch the leaf into the skin only — the shallow version glows a soft amber and is even more beginner friendly.
24. Candy Bowl Pumpkin

This clever pumpkin skips the face completely. Instead, cut one wide round opening low in the front of a big pumpkin, scoop it out well, and fill the hollow with wrapped Halloween candy for everyone to see.
It works double duty as decoration and a self-serve treat bowl for trick-or-treaters, and it refills in seconds. Use a battery candle tucked behind the candy if you want a glow, and choose a wide, sturdy pumpkin so the bowl never tips.
25. Mini Pumpkin Luminaries
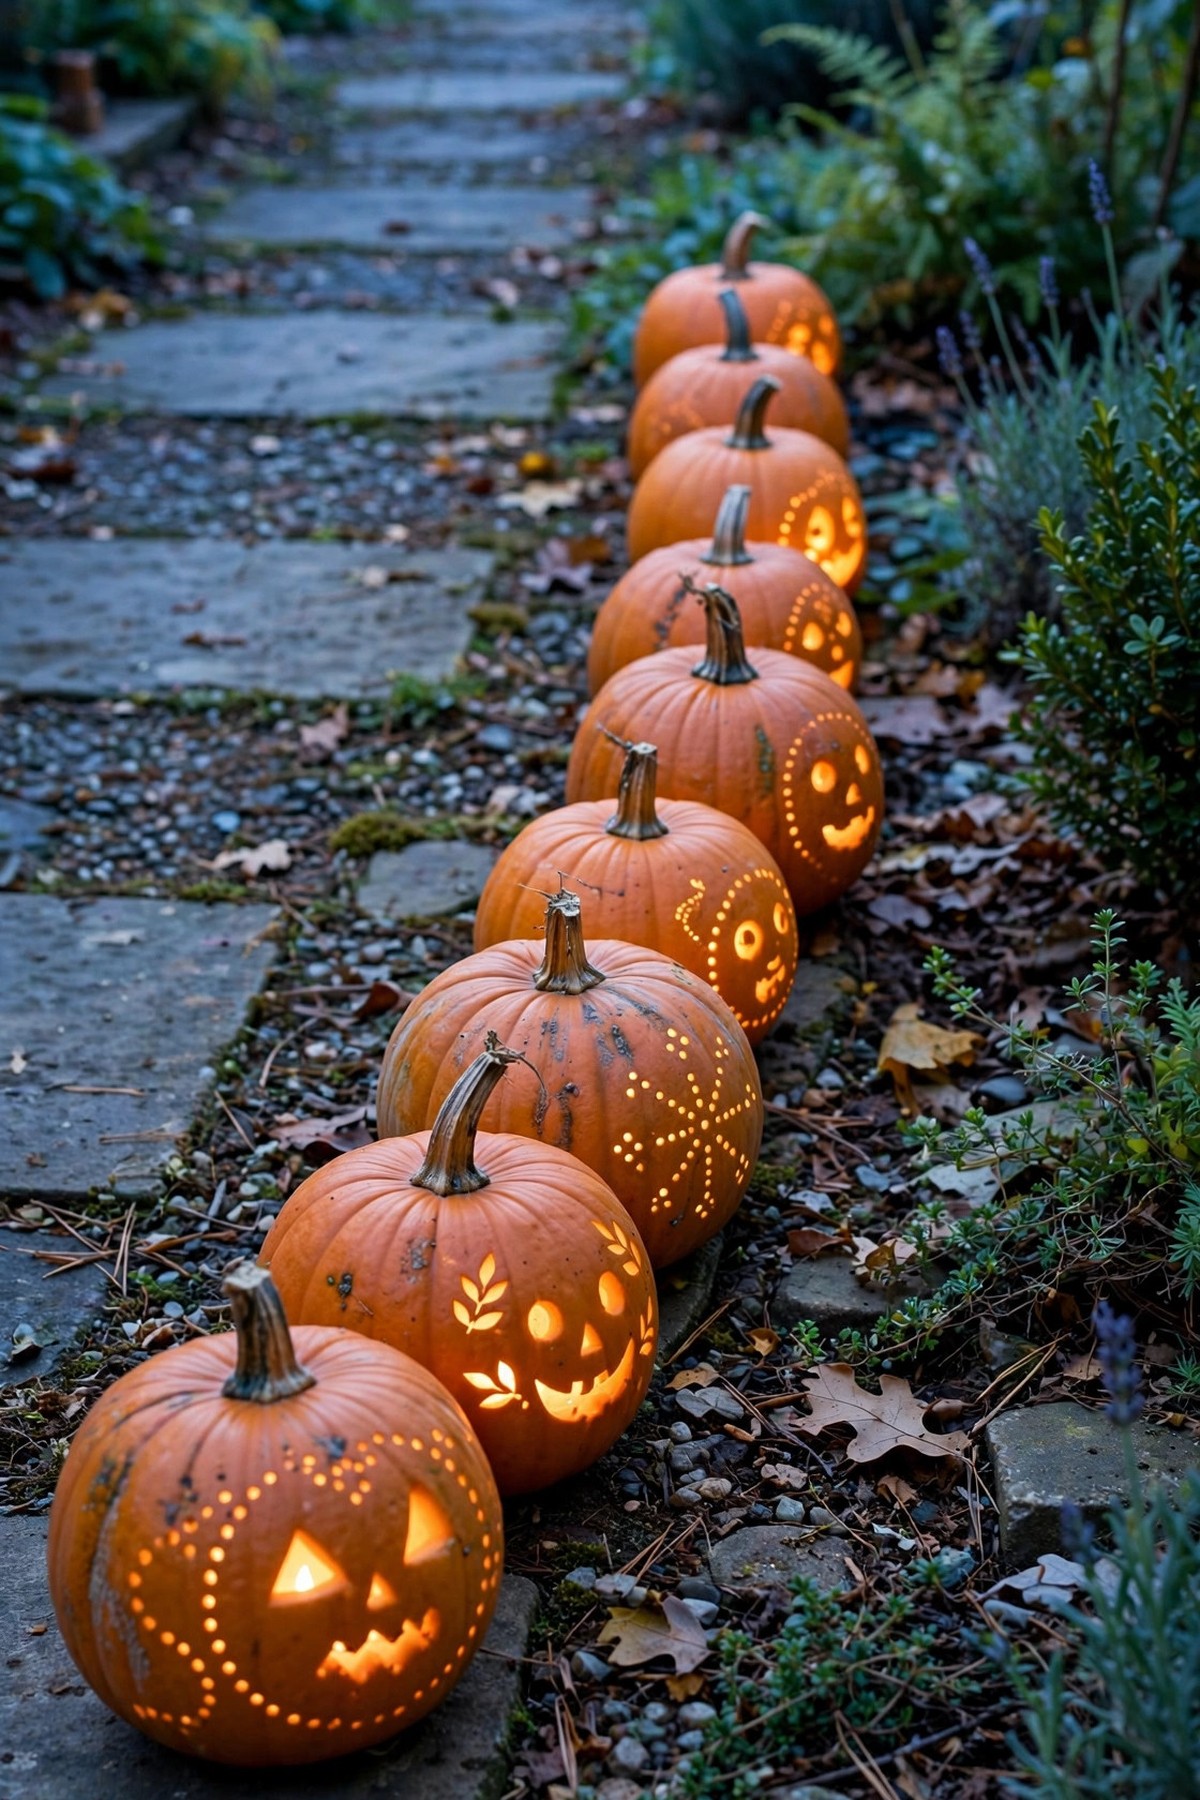
Small pumpkins make the prettiest path lights of the season. Give each mini a simple treatment — a few drilled dots, one tiny face, or a single star — then line them along your walkway, porch steps or garden edge.
Individually they are quick five-minute projects, but as a glowing row at dusk they look truly magical. Battery tea lights are the smart choice inside minis, since they are safe, windproof and small enough to fit through a bottom hole.
26. Etched Heart Pumpkin

Etching means you never cut all the way through the pumpkin at all. Using a vegetable peeler or a linoleum tool, you shave hearts into just the orange skin, revealing the pale flesh underneath in pretty patterns.
When a candle glows inside, the etched hearts shine a soft warm amber while the rest of the pumpkin stays dark. Etched pumpkins also last much longer than fully carved ones, so this is the design to make early in the season.
27. Pumpkin Eating a Mini Pumpkin

For the grand finale, carve a huge hungry mouth full of pointy teeth into your biggest pumpkin, then wedge a mini pumpkin right inside the mouth as if it is being eaten as a snack.
Stick two googly eyes or carved eyes on top and the whole silly scene comes alive. It is simple carving with a big comedy payoff, and this is the pumpkin your neighbors will stop to photograph, guaranteed.
Beginner Tips for Your First Carved Pumpkin
Start with the right tools: a cheap pumpkin carving kit (serrated saw, poker and scoop) is safer and easier than a kitchen knife, and a dry-erase marker lets you draw your design and wipe away mistakes. Cut the opening in the bottom instead of a lid and the pumpkin sits flat and lights in seconds — just place it over your candle or LED light.
Scrape the wall behind your design to about one inch thick so carving is easier and the glow shines brighter. Rub petroleum jelly on the cut edges to slow down drying, and use a battery LED candle instead of a real flame for a safer, longer-lasting glow. Now pick your favorite from these easy pumpkin carving ideas and have a happy Halloween!